


There’s nothing that wakes up the face and brightens the eyes like blush. It’s instant youth, flirtation, happiness, effervescence, and energy. In a word, spring! Still, it can be intimidating to apply—after all, it’s usually a bright color, and we can think of several characters who wear too much of it as comedy (I stand in solidarity with Miss Piggy). Consider this letter your cheat sheet for selecting and mastering blush.
Also, stay tuned for more information next week about a product giveaway I’ll be running for subscribers!
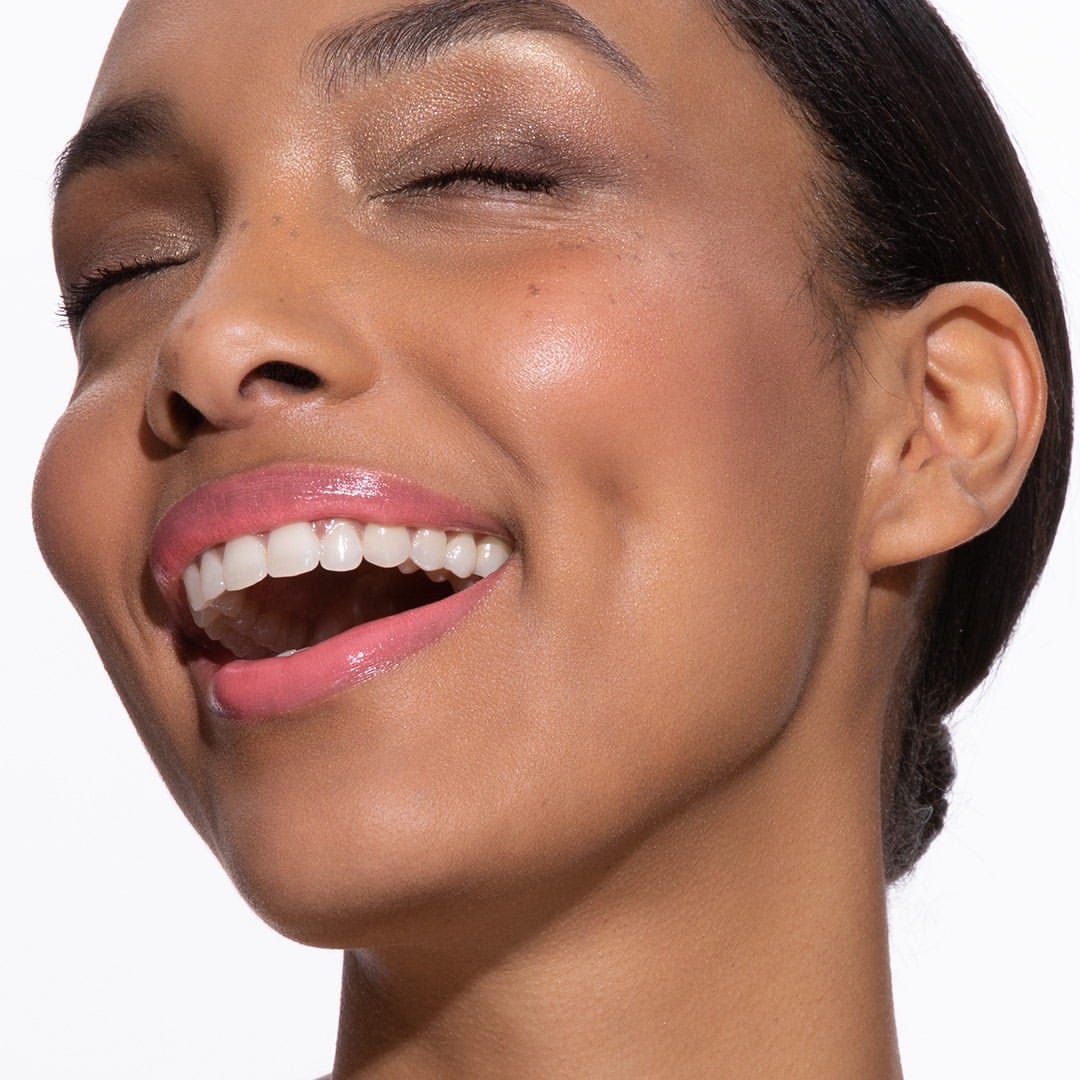
Jo wearing Chantecaille spring cheeks
IN THE CHAIR
Behind-the-scenes techniques to enhance your makeup routine
As with all makeup, selecting the right type of blush for the job is as important as using proper technique to apply it! There are three main types of blush: powder, cream, and liquid/gel/stain. Find out how to get the most out of each below.
Powder Blush
Powder blush is likely the blush formula you have seen the most. It’s the OG and hasn’t changed that much over time. The upside to using a classic is that there are basically limitless tones and finishes to explore. Additionally, like eyeshadow, there are new gel-based powder formulas that have amazing luminosity and an extremely light feel. The Chantecaille Wild Meadows Blush is a great example of this (I may be obsessed with both colors). A word of warning: Remember how we talked about there being lots of finishes to powder blush? Avoid the heavy glitter finishes. This type can be too much in the daytime and the large flecks of glitter can end up all over your face, including places you’d not like to have sparkle. Follow this rule unless, of course, you’re going to a disco party—in that very specific case, carry on!
How to Apply It
Expertly apply powder blush with ease by using a fluffy brush like the IT Cosmetics Heavenly Luxe French Boutique Blush Brush #4. I own and adore this brush—it picks up the exact amount of product you need and makes seamless blending easy.
For everyday blush wear, start with a small amount of product and apply to the apple of your cheeks. No idea what I’m talking about? Head to a mirror and smile! The round area that pops forward is called the “apple” in makeup land. After adding a small amount to both cheeks, blend both sides slightly upward toward the tops of your cheekbones and then outward until the “edges” (aka harsh lines where you can see the product beginning and ending) are no longer visible. Next, check yourself out in the mirror again—if your eyes have “popped” (meaning they look brighter white by contrast and better rested), you’re wearing the right amount. If not, add thin layers until you get there! It’s easier to add than it is to remove, so take your time.
Pro Tip
One of my favorite things about classic powder blush is that you can layer multiple colors easily for a custom glow. My favorite way to do this is to choose two blushes within the same color family—select a darker color for the base and a brighter shade for the center/apple. Add the deeper shade to the apples and blend it to the cheekbones as discussed above. Then, add the brighter “pop” shade to just the apples. Lastly, enjoy that extra glow!
Cream Blush
I love how quick and easy cream blush is. Plus, it melts into the skin for an “I woke up like this” glow. It’s perfect for beauty on the go because you don’t need any tools, just fingers! One of my favorites is the Jillian Dempsey Cheek Tint. It comes in six colors that are all super wearable and smell like coconut, which gives you total vacation vibes. Don’t be afraid, you’re just smelling an ingredient, not added artificial scent—it’s a clean/natural beauty line so it has coconut oil in it!
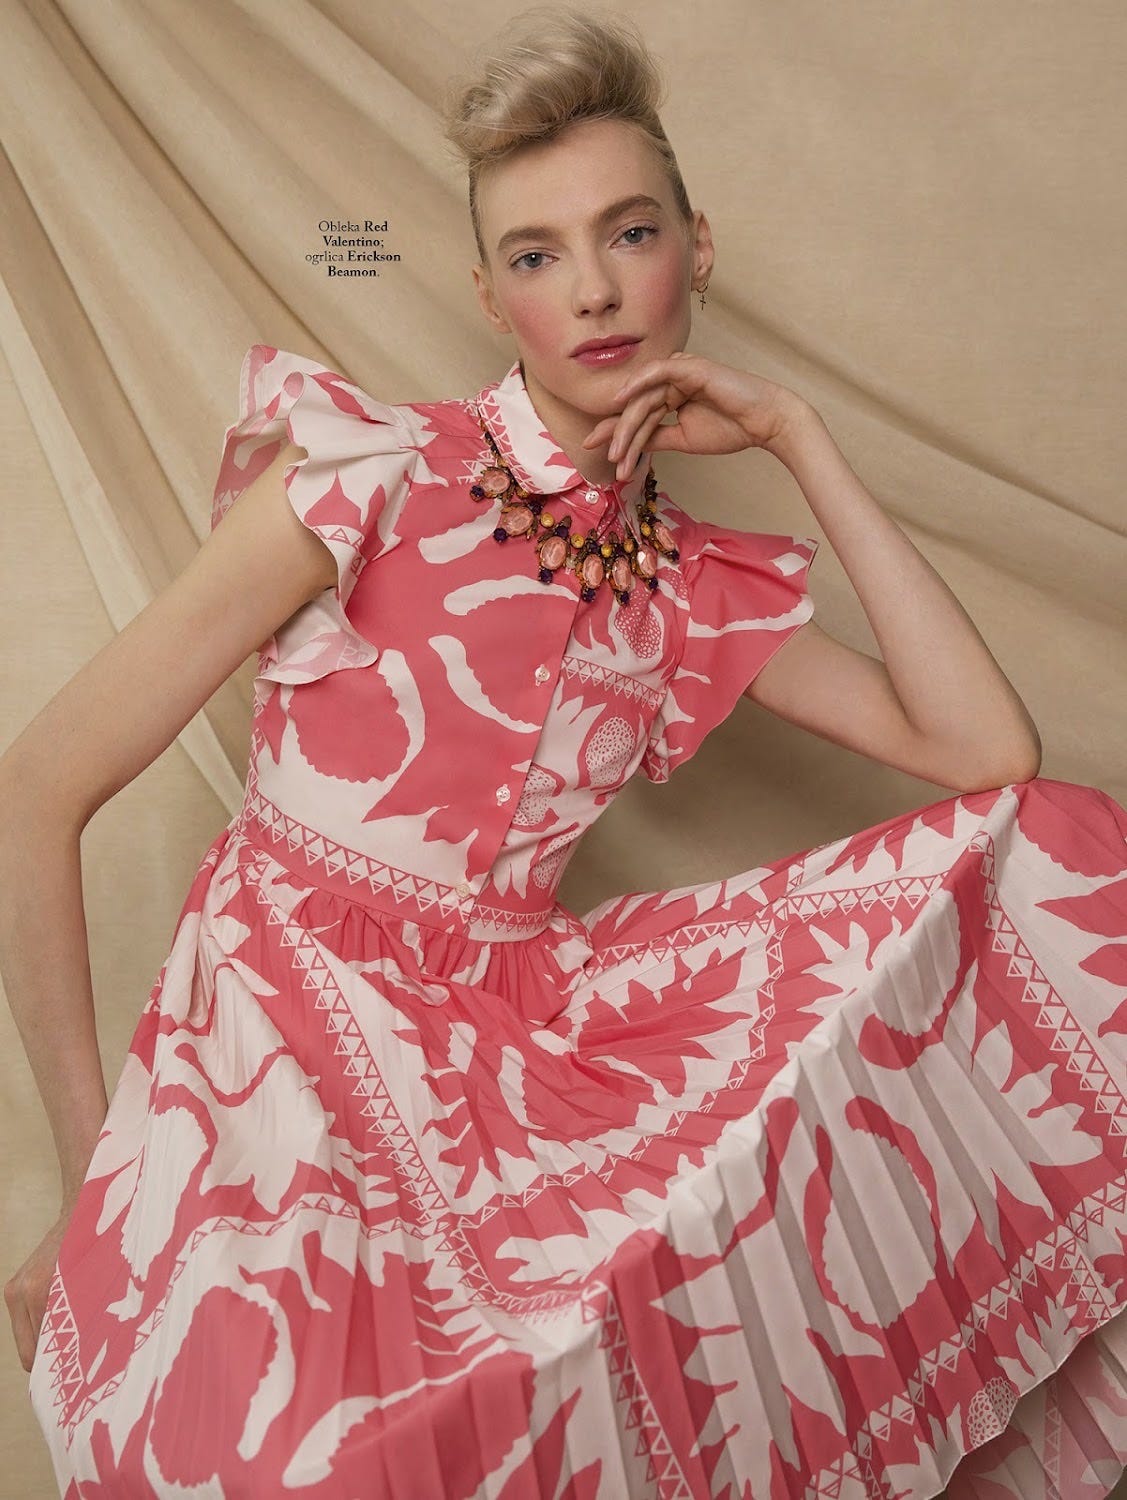
Zlata wearing cream blush
How to Apply It
For the quickest cheek application ever, put your thumb in your cream blush and place it on the apple of your cheek. Then, press the blush into your cheeks in a circular motion until the color has blended into the apples of the cheeks (where the color should be concentrated), then higher on the cheekbones, and finally outward along the cheekbones until the edges are undetectable.
Pro Tip
Swirl a fluffy powder brush into a cream blush and apply it to your cheeks. I recommend using a synthetic instead of a real hair version for all cream formulas—it creates a barely there, painterly effect that will leave people guessing whether you’re wearing makeup or not in a model-off-duty sort of way. Bonus: They are really affordable. I recommend the Real Techniques 402 Makeup Setting Facial Powder Makeup Brush.
Liquid/Gel/Stain
Within the last few years, there has been an explosion of new blush formulas that have come to market. Most of them are a liquid of some kind (Nars Liquid Blush) or a gel/stain (Olio E Osso Tinted Lip & Cheek Balm). I think of these and others of a similar type as mixers and multi-taskers—although you can use them on their own, they really shine when combined with other types of makeup like foundation, highlighter, lips, or even eyeshadow. Liquid formulas love each other! Just make sure to combine liquid with liquid, cream with cream, and powder with powder (yes, it works for the first two blush formulas as well). Think of them as your new favorite cocktail.
How to Apply It
Start with a rounded fluffy synthetic-fiber brush like the Real Techniques 200 Expert Face Liquid & Cream Foundation Makeup Brush and buff the liquid/gel/stain into the apple of your cheeks. Ease into it—these formulas pack a punch, so a little goes a long way! Buff slightly up on top of the cheekbone so there is a smooth, undetectable transition between under-eye concealer and blush. Then, drag along the cheekbone outward and upward towards the hairline. Finally, use a sponge (Beauty Blender), hopefully with some of your foundation on it from earlier, to soften all edges and to chill the blush color out if you got a little carried away.
Pro Tip
Mix with a liquid highlighter (like the Fenty Beauty Liquid Killawatt Fluid Freestyle Highlighter) for an extra-special, lit-from-within sparkle.
FROM THE KIT
The products and trends worth knowing about now
My Latest Discovery
U Beauty The Return Eye Concentrate
I am loving this brand-new eye cream! It launched this week, and I was lucky enough to get my hands on it in advance. It’s so moisturizing without being overly slippery under makeup. Also, you need only the smallest amount! I used less than a full pump for both eyes, and it lasted all day.
PHONE A FRIEND
Insight and beauty inspiration from my favorite people in the industry
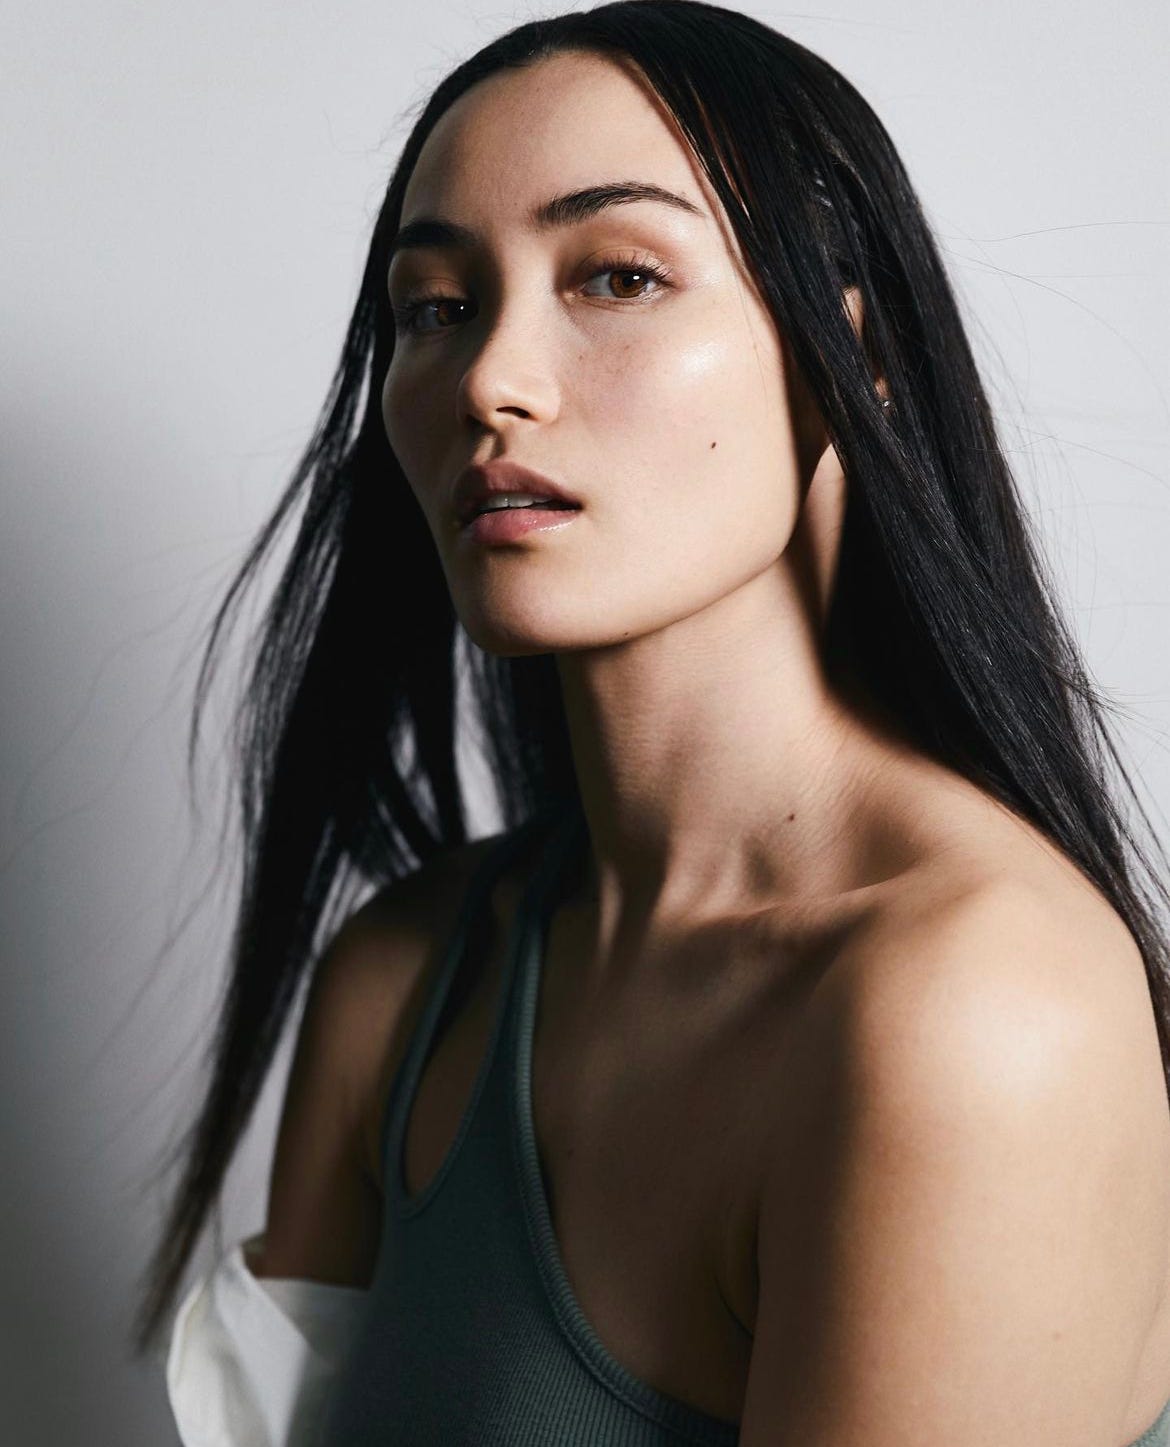
Tiffany Mizuki Hirth, model (@thirth)
Q: Who is your beauty inspiration?
I get a lot of my beauty inspiration from social media! I follow talented artists and love seeing looks they create on models for shoots and editorials, as well as seeing beauty influencers and makeup artists and the looks they create. I like to recreate the looks with my own spin on them.
Q: What’s your go-to look?
I’m a natural makeup girl 99% of the time. I love that my everyday look requires like five products and just my fingers to do.
Q: What are your desert island products?
For skincare, I’d have to say my Weleda Skin Food, a good SPF 50 sunscreen and an oil cleanser. Makeup-wise my Shu Uemura Eyelash Curler, waterproof mascara, and maybe a cream blush and lip gloss/tint—I’ve been super into the Olio E Osso Balm in apricot lately.
Q: What’s your beauty philosophy?
That makeup should make you feel good and should be fun! Take risks, try new trends, make it your own, and have it work for you. It’s such a fun way to be creative and express yourself!