Step 4 of My Makeup Process, Part B – Structure
Bronzing and contouring, without the dreaded orange after-effects!

Enhancing facial structure with contouring and bronzer is perhaps one of the most talked about makeup topics on the internet, and IRL. In fact, there’s so much information out there that it’s hard to wade through it to understand exactly what’s needed, or if it’s even necessary every day. Additionally, if contouring and bronzing do go wrong, things can go downhill, fast! (Think: Oompa Loompa realness or the equally terrifying question from a stranger, “Is that dirt on your face?”) All of these super scary makeup mishaps are avoidable if one keeps a few things in mind and remembers what the makeup is meant to do in the first place.
Before we dive in, a quick update on the giveaway I mentioned last week: I am excited to announce that I will be doing a giveaway for my subscribers featuring my number one go-to makeup accessory, the WELLinsulated case (yes, the one I talk about in every newsletter). Stay tuned for details on how to enter in next week’s letter (which will cover one of my favorite topics, lips)!
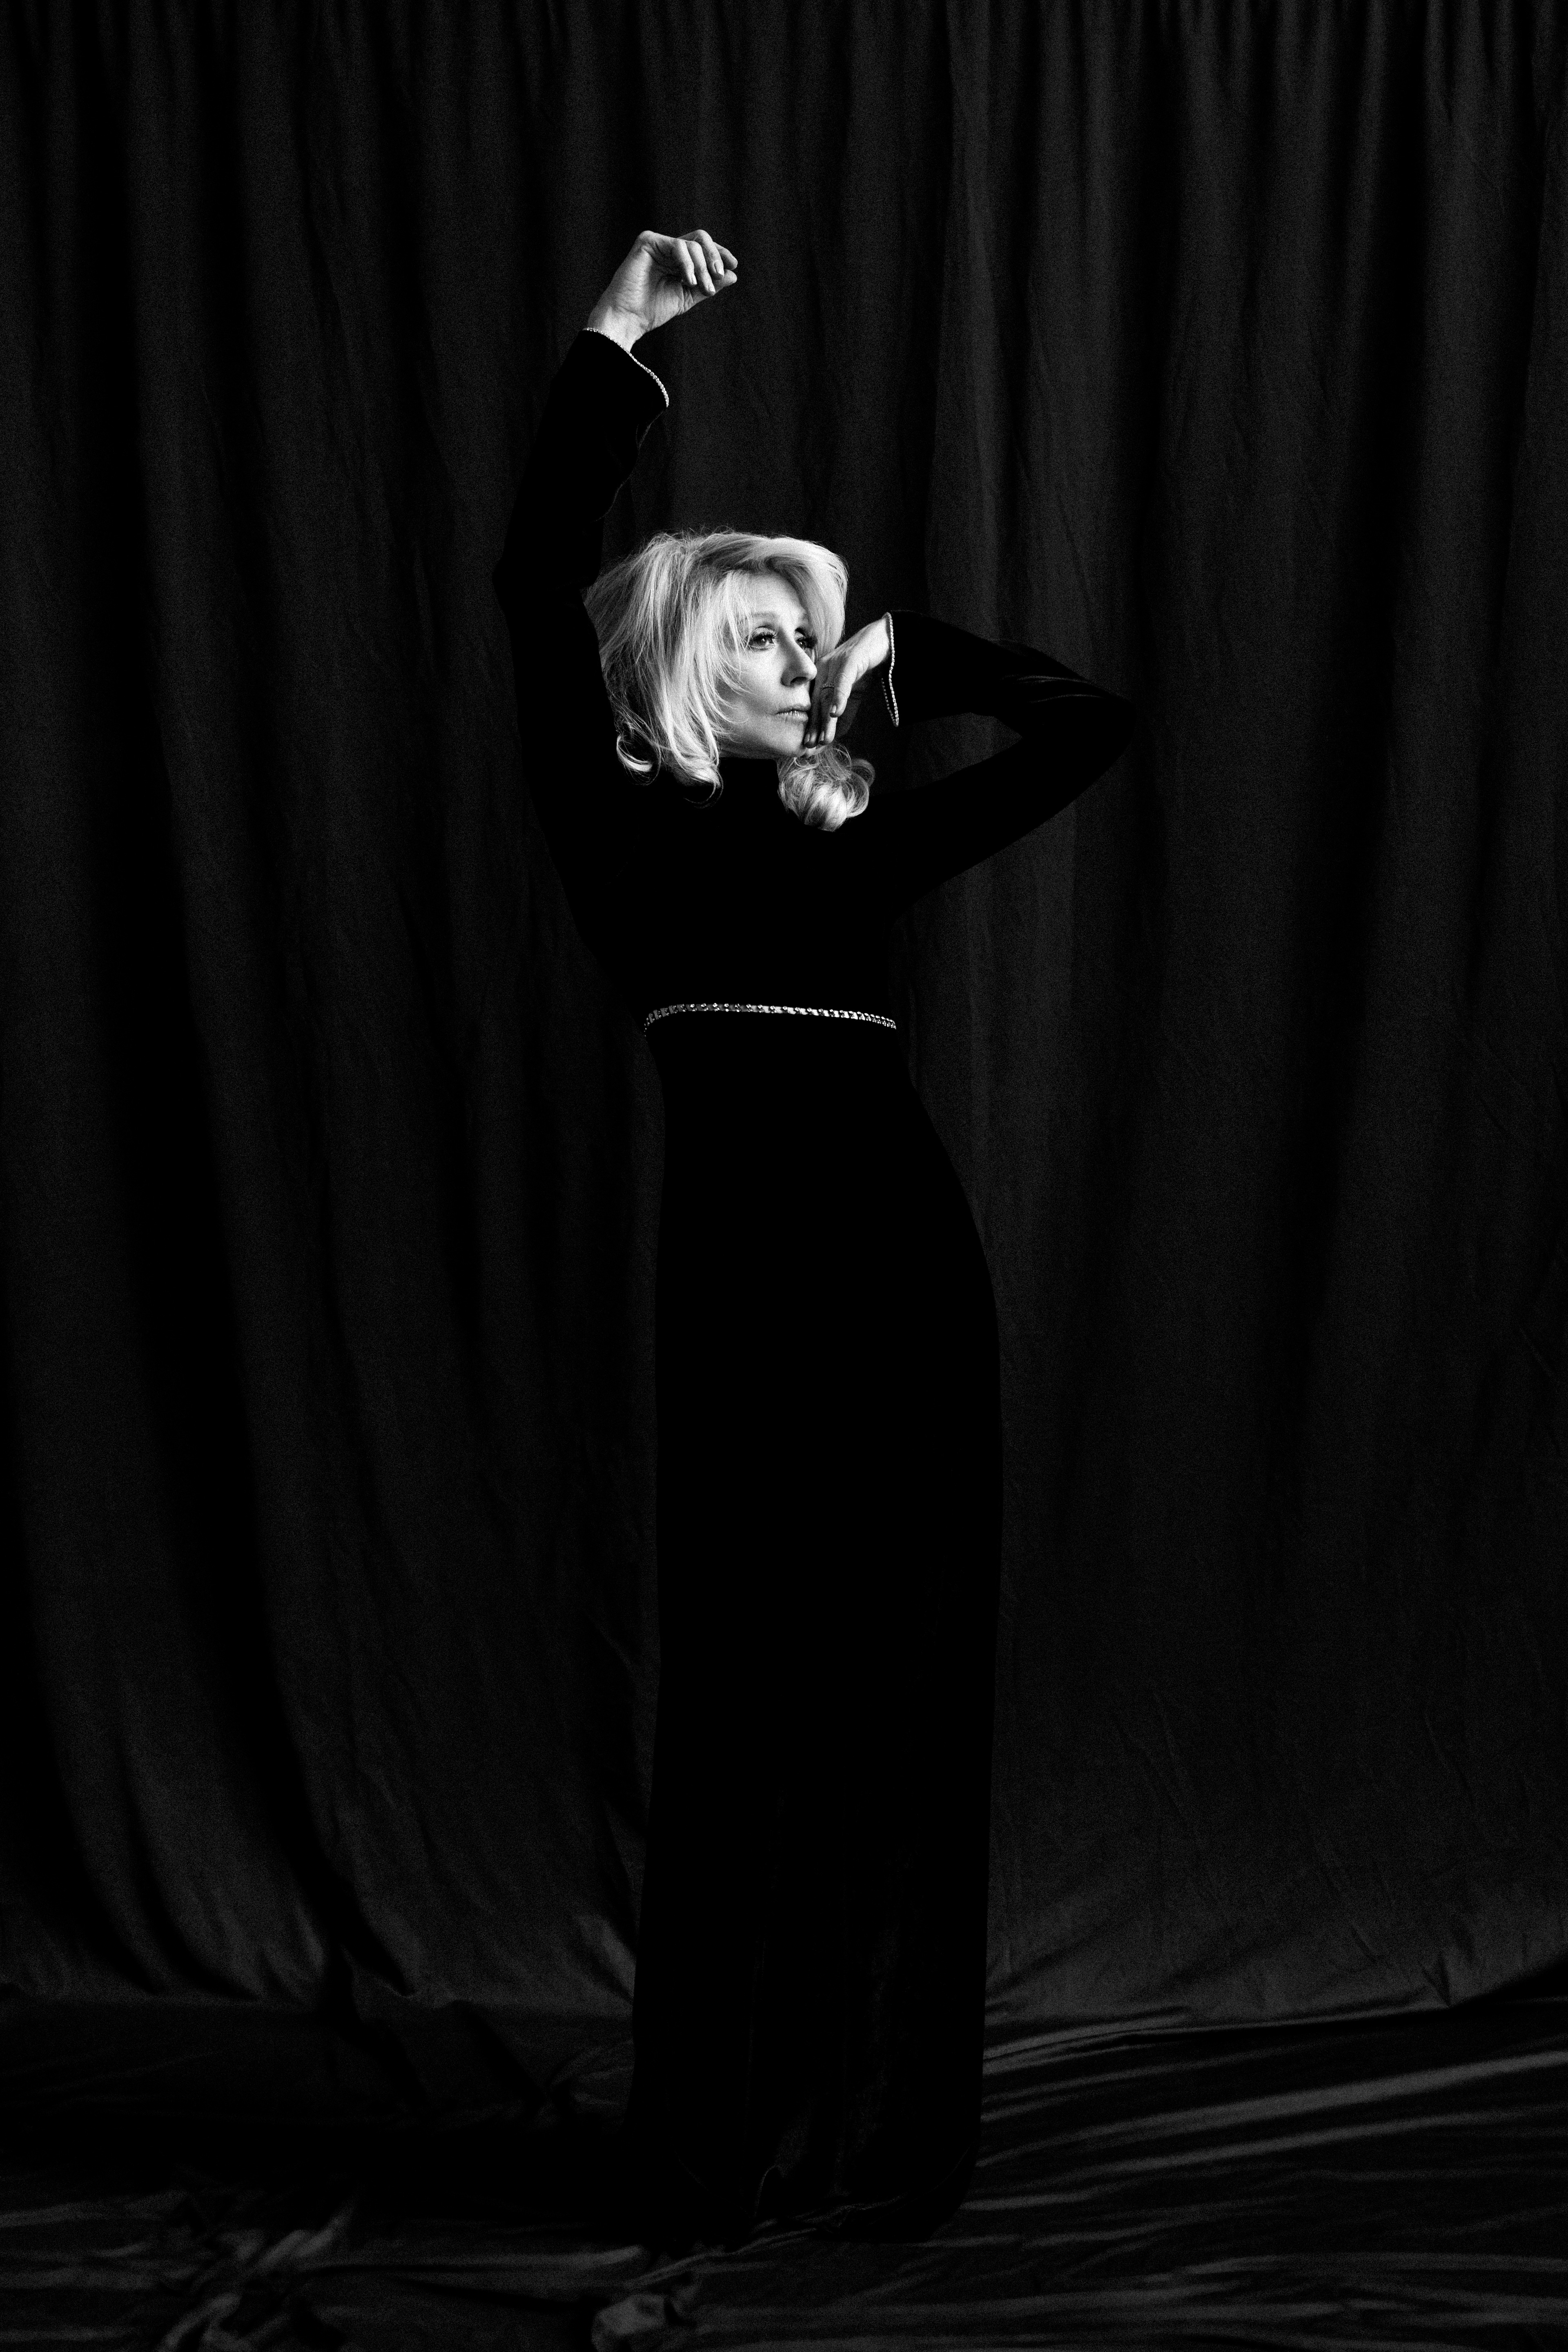
Daiane Sodre (@daianesodre), one of my favorite bronzed goddesses, shot by Julia Morris (@juliaamorris)
IN THE CHAIR
Behind-the-scenes techniques to enhance your makeup routine
Bronzing Basics
Using bronzer is a lovely way to add shape to your face, especially in 1. Daytime when you’re in full daylight/sun (it’s kind of a sneaky way to subtly shape the face for daylight in-person adventures) and 2. During spring and summer to enhance what’s naturally happening to your skin (i.e. darkening and tanning). As with all makeup, you don’t have to use bronzer ever if it’s not a look you’re into and conversely, if you’re into golden looks you can absolutely wear it year round. There are several bronzer formulations, so we’ll go over a couple of my favorites.
Powder Bronzer
Use powder bronzer after you’ve “set” your foundation and concealer with a light dusting of translucent powder. Do not skip this step as it allows the powder bronzer to glide on top and apply smoothly across the skin without “sticking” or collecting in a specific spot.
Golden Girl
For a golden look, pick a fluffy powder brush like the Real Techniques 400 Ultra Plush Blush Brush and a shimmery bronzer to catch all the light like NARS Bronzing Powder (Laguna is a classic for light and medium tones, Casino is great for medium and deeper tones, and Punta Cana is ideal for darker tones). Next, think like the sun and dust bronzer anywhere the sun would naturally hit:
Along your hairline (make sure to blend into the hair so there are no lighter spots between the bronzer and your hair)
The tops of the cheek bones (super softly)
Across the nose
Under the cheekbones (for sculpting)
Along the jaw
On the tip of the chin
Down the neck so everything looks like it’s a “team”
Drama, Darling
For something super sculpted and dramatic, select a matte bronzer like Benefit Cosmetics Hoola Matte Powder Bronzer (it’s been one of my favorites for a long time and now comes in multiple non-orange matte shades so it’s easy to find the right shade for you). Tool-wise, choose two brushes—one that’s domed for eyes and small areas of the face like the Chanel Les Pinceaux de Chanel Retractable Dual-Ended Eyeshadow Brush N°200 and another angled contour brush like the Chanel Les Pinceaux de Chanel Contouring Brush N°109 (note: I refer to angled and domed brushes multiple times throughout this letter; these are the ones I’m referring to). Next, think about what areas you want to enhance. I’d recommend the following:
Along the hairline with an angled brush, taking special care to not leave any gaps between bronzer and hair
Across the temples
Under the cheekbones (also with angled brush) from almost to the ear to approximately under the iris, making sure to leave soft, undetectable edges
In the creases of the eyes with a domed eyeshadow brush
Under and along the jaw with the angled brush
Under and at the end of the chin
Slightly down the neck with a fluffy powder brush so everything is a team
Gel Bronzer
Gel bronzer is a relatively new formulation, and there are lots of options out there! These are great because you can mix them with liquid and cream products for a customized glow. Like we discussed last week, you just need to remember that when mixing, you should select products that are of the same type. Here are some of my favorites.
Dr. Hauschka Translucent Bronzing Tint
This liquid bronzer is a great way to get an all-over bronze on either face or body (or both!). Just add a couple drops to your favorite moisture, mix, and glow.
Chantecaille Radiance Gel Bronzer
This liquid/gel hybrid glides on easily using either fingers or the matching Chantecaille Sculpting Brush. It suits many complexions and doesn’t look like makeup once it’s on.
Chanel Les Beiges Healthy Glow Bronzing Cream
This is so versatile and is so generously sized, it seriously lasts forever. It’s a lightweight cream bronzer that buffs onto the skin seamlessly either with a fluffy brush for a barely there wash of color or more precisely with an angled brush or a domed eyeshadow brush for a more sculpted look. It can also be used on eyes for a monochromatic bronzed goddess look.
Pro tip: Liquid and gel product stays where you put it, so make sure to blend it in quickly before it sets.
Contour Commandments
Unlike bronzer, which uses “warm” tones to mimic what the sun would naturally do to your face (i.e. tanning the high points), contour utilizes “cool” tones to mimic shadow on the face. When applying, think of what you would like to have stand out and what needs to be minimized to achieve that. For example, if you want sculpted cheeks, you want to minimize your temples and under your cheekbones. Additionally, go slowly with contour (you can always add more) and blend, blend, blend—the secret to perfect contour is putting in the time to make it nearly invisible, especially if you’re wearing it in the daytime. The evening and the stage (if you’re that girl) are a lot more forgiving.
Powder Contour
The only powder contour you need is the Kevyn Aucoin Contour Book. It has all three contour shades ( light, medium, and deep) plus some highlighting and a blush for a truly customized, complete look. You can use all of the colors on the eyes, too! To start, select a great brush like the Chanel contouring brush and lightly dust product on the following areas:
Across the top of the forehead, blending into the hairline
On the temples
In the eye creases (with a fluffy eyeshadow brush)
Under the cheekbones
Under and along the jaw
On the end of the chin
Down the neck to bring it all together
Yes, you can also do your nose, but be very, very careful! No one wants any type of stripes happening in the center of your face. Select a really fine brush (like the tightly packed end of the Chanel dual-ended eyeshadow brush) and place product down the sides of your nose and just a little on the end. Then, blend with the fluffy end of the eyeshadow brush to really make sure you don’t have any harsh lines
Gel Contour
Gel contour is a great way to go as it’s so easy to use. And, if you happen to make any mistakes while applying, you can simply undo them with a little leftover foundation on your already-used brush or sponge. Try the Charlotte Tillbury Hollywood Contour Wand and keep in mind that a little goes a really long way. Squeeze the tube to release some product into the sponge tip applicator and dot, then blend with a foundation brush like the Chanel Les Pinceaux de Chanel Retractable Foundation Brush N°103 on any of your desired areas, including:
Perimeter of the forehead
Temples
Nose (with the small end of the brush)
Under the cheekbones
Jaw
End of the chin
Slightly down the neck
As with any of my tips, if this is too much, cut a few steps out! These are just suggestions and everyone’s face is different—you definitely don’t need to use them all. Think about what you’re trying to achieve and not what you “should” do. Makeup should be fun and empowering, not stressful!
FROM THE KIT
The products and trends worth knowing about now
Revitalash Advanced Eyelash Conditioner - Sensitive

This is more of a rediscovery—I own and love their original lash growth serum, but I like this one even more! I can be sensitive to a lot of lash growth serums, but not this one. An essential for combatting lash loss associated with daily mascara use!
PHONE A FRIEND
Insight and beauty inspiration from my favorite people in the industry
Alexandra Arnold, Photographer (@thealexandraarnold)
I met Alexandra on a cover shoot for Rose & Ivy Journal featuring Judith Light. She was wearing full gold glitter eyeshadow at 7:00am, and in that moment I knew she was my kind of girl.
Q: What are your “desert island” products?
Eyelash curler—I’m obsessed with curling my lashes and as I get older, they are becoming more and more straight naturally, and I HATE IT. I will literally be home all day with no makeup up on but I HAVE to have curly lashes. I have been doing this since 2006.
Q: Who is your beauty inspiration?
My sister, Arielle!! (@palefacearielle)
Q: What’s your go-to look and how did you develop it?
My usual go-to is dewy skin, light-medium coverage, full brows, creamy highlighter, a soft beige blush, mascara, and a vibrant or glittery “natural” (in my terms) eye or a colored winged liner with a nice mauve lip. Like, for example, j’adore a pink duochrome eye from Danessa Myricks. I usually use her ColorFix Foils in Venus or Nebula and pair with NARS Powermatte lipstick in American Woman. That lipstick is my no. 1 contender and I wear her with so many eye looks. I also LOVE the Haus Labs Hy-Power Pigment Paint in Magenta Shimmer with a Pat McGrath matte lip in Soft Core. Another “natural” eye color I love is the Matte Fluid Eye Paint in Vertigo Flowers (lime green) from about-face. What can I say?? I love a LOOK. I always play into pinks, rose golds, and golds as my “go-to’s.” I developed my style from learning from my younger sister, Arielle, who is a makeup artist and is known for her bold, creative looks ! She taught me everything.
Q: What’s your beauty philosophy?
Don’t be afraid to try bold colors. Have fun with it and do something that makes you feel confident, powerful, and badass!
Q: How does your beauty philosophy inform your work?
It’s taught me to go out of my comfort zone, try new things, and create strong work that I am so proud of!!
Q: 3 photos of your work that you love?
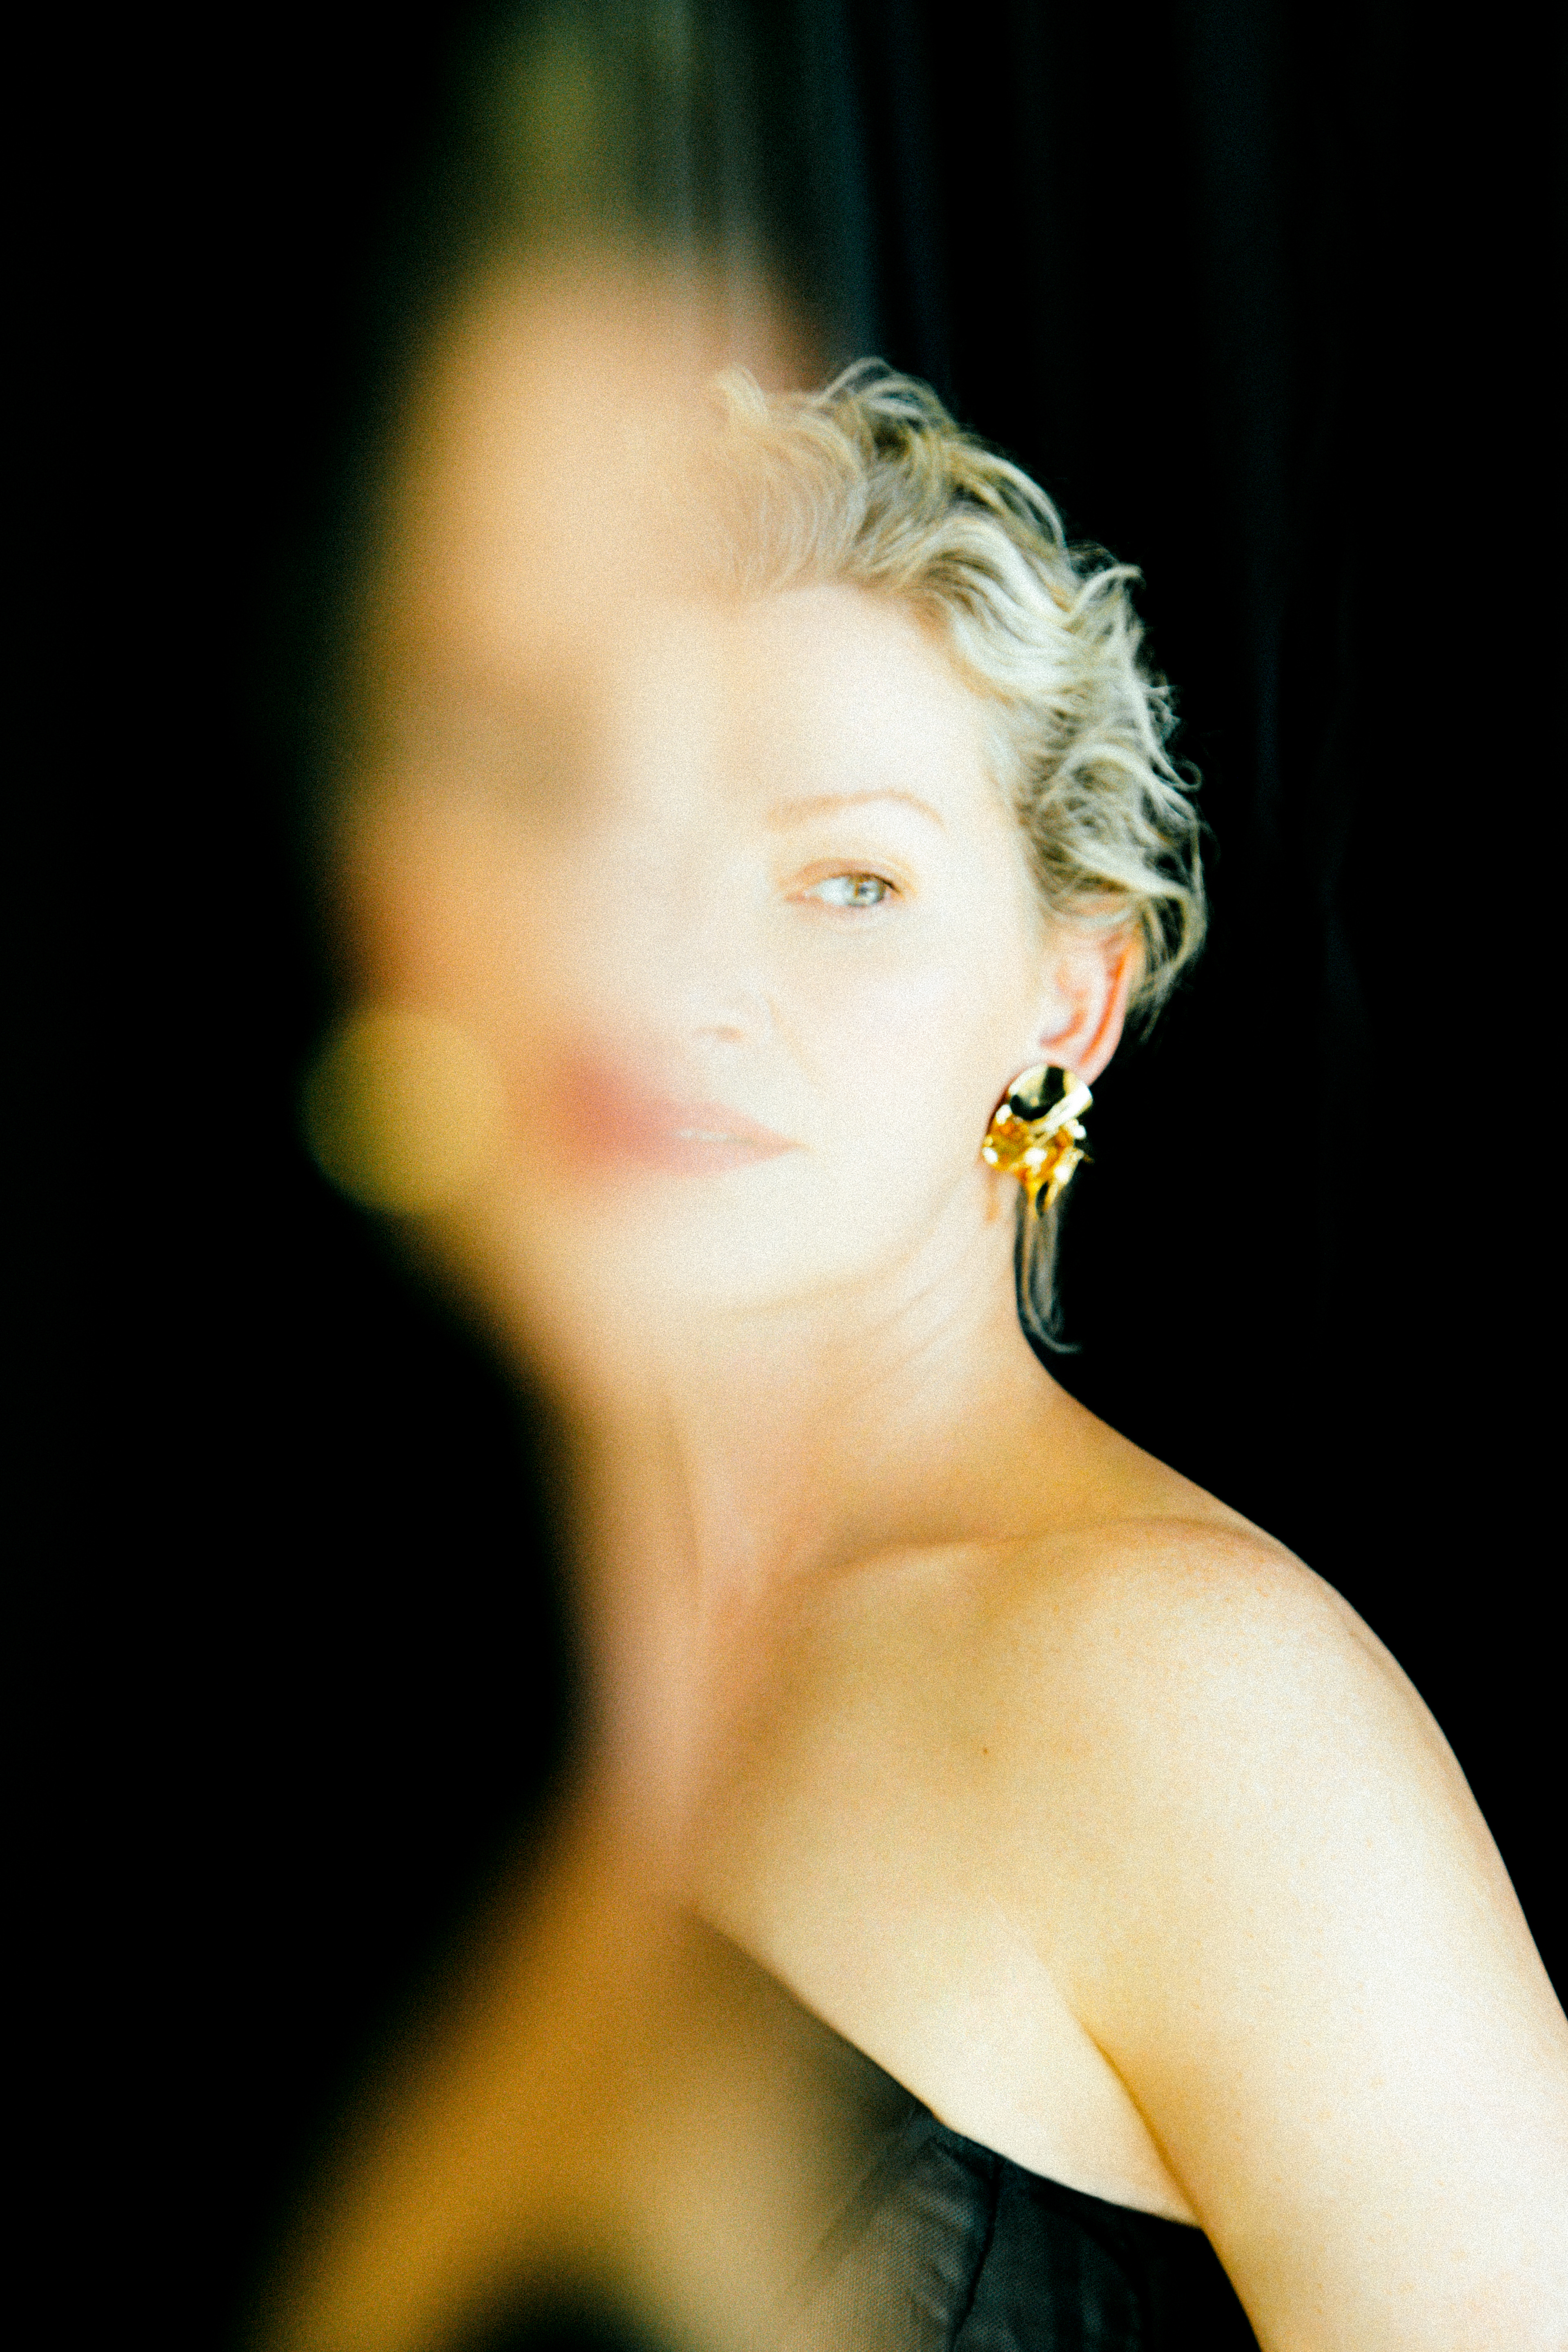
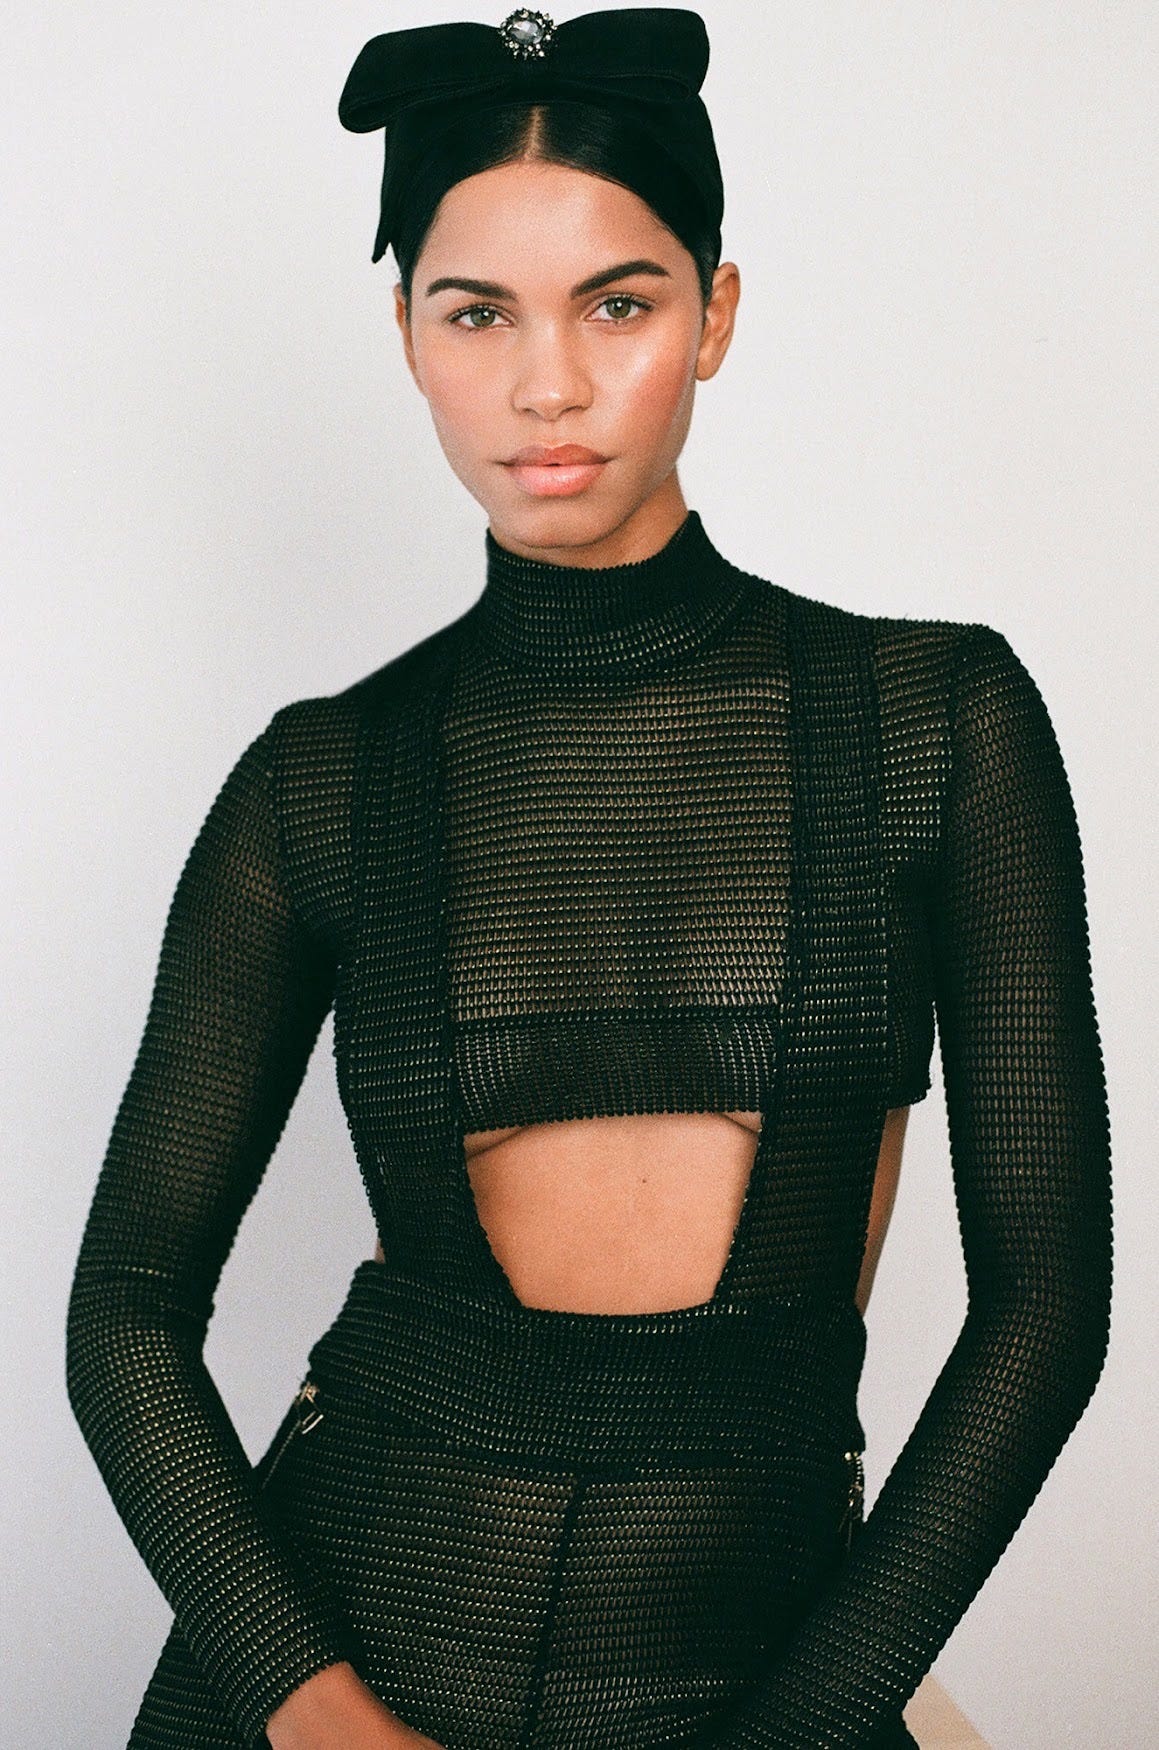
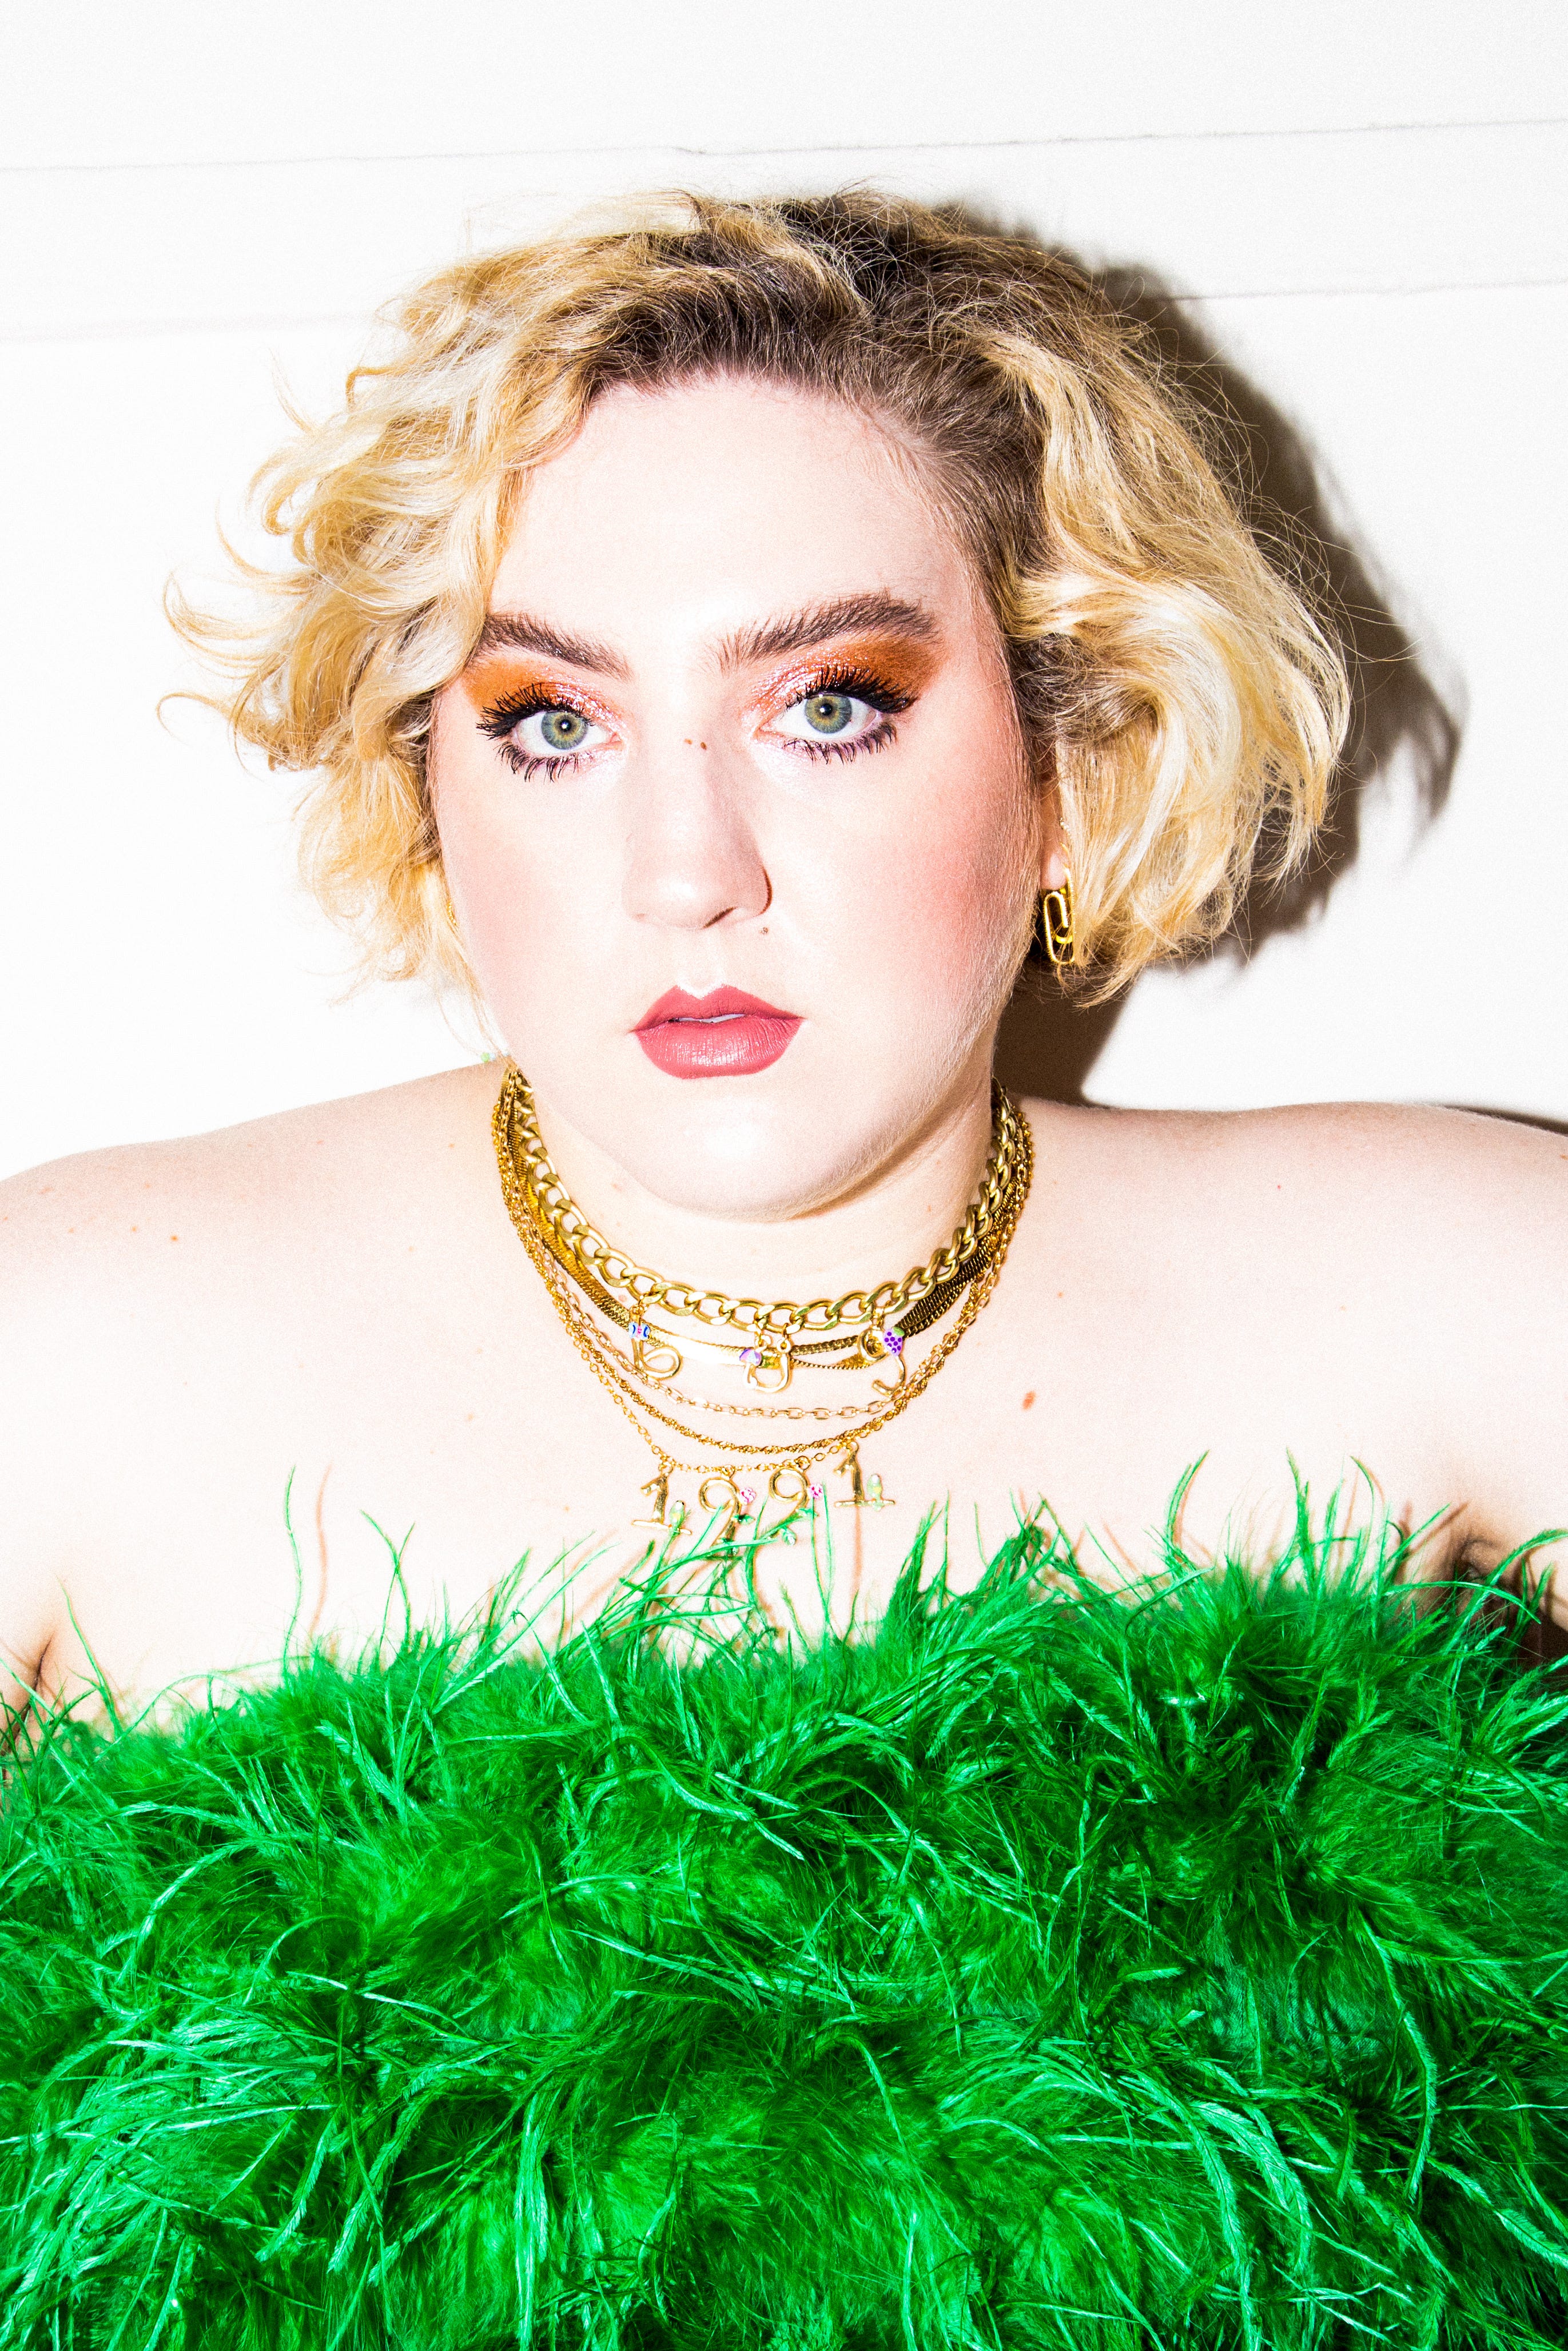
Carla Gugino
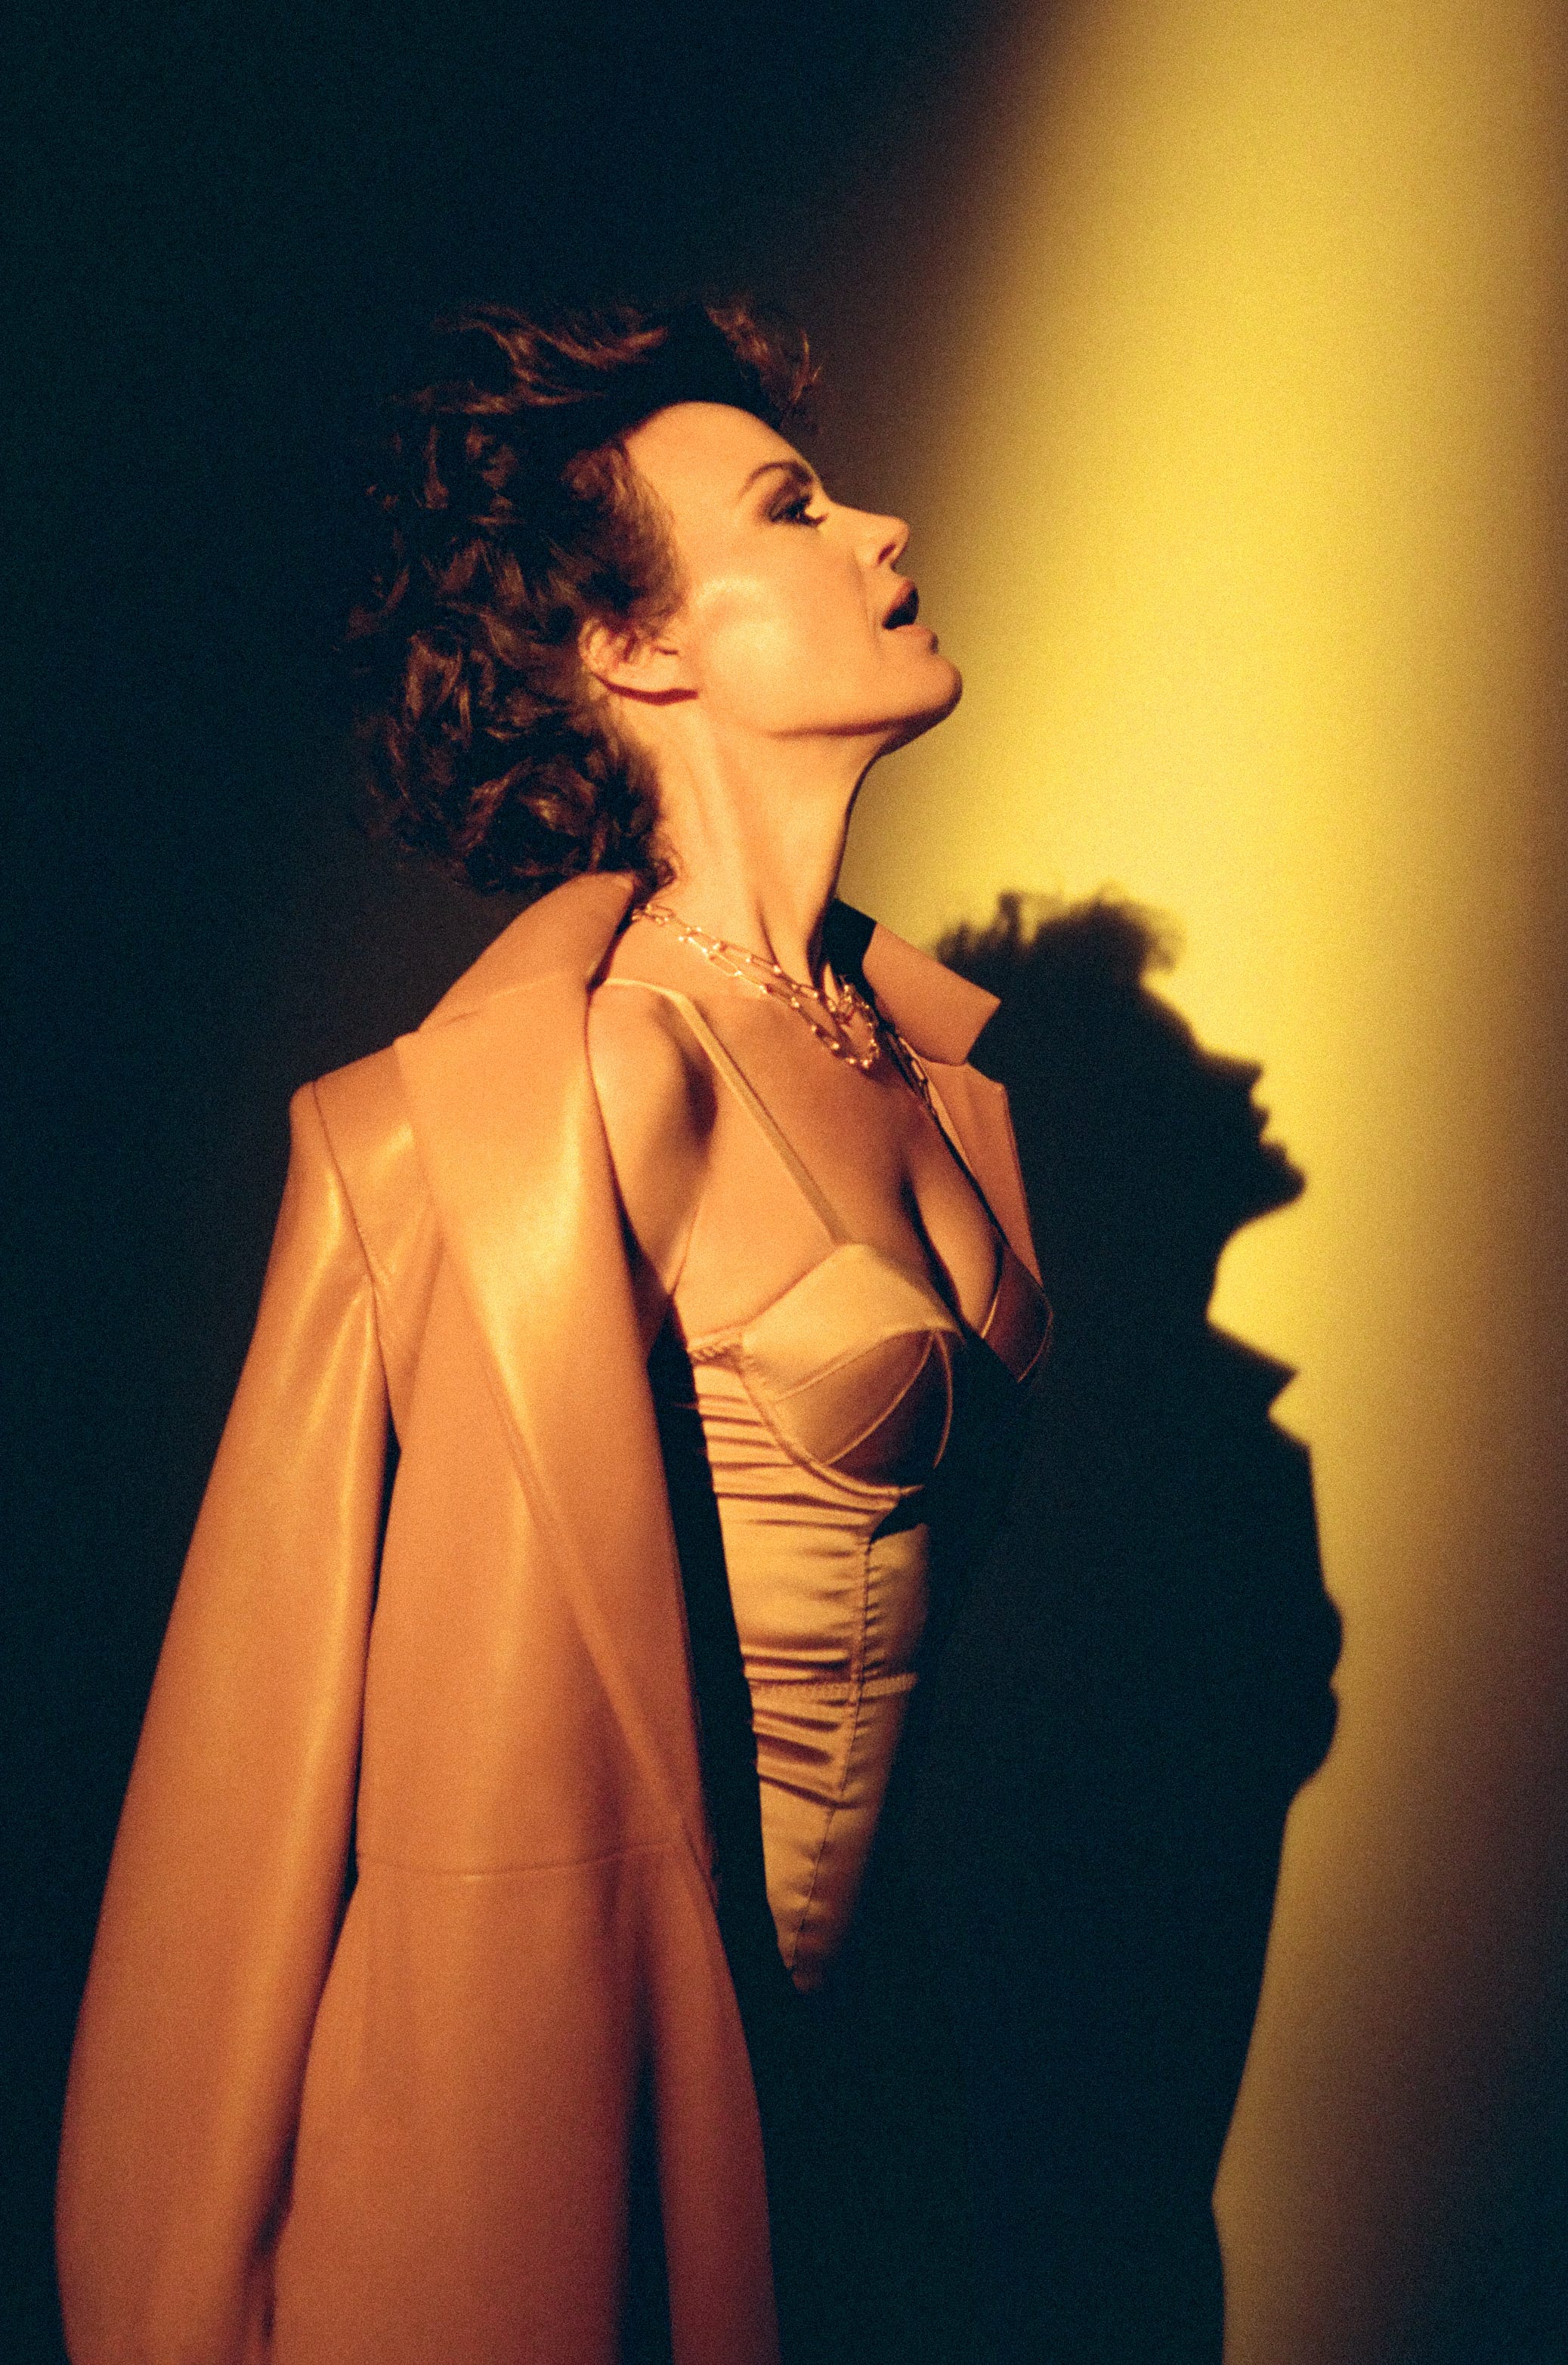
Judith Light
Gretchen Mol